Biscoff Cheesecake Recipe
Introduction
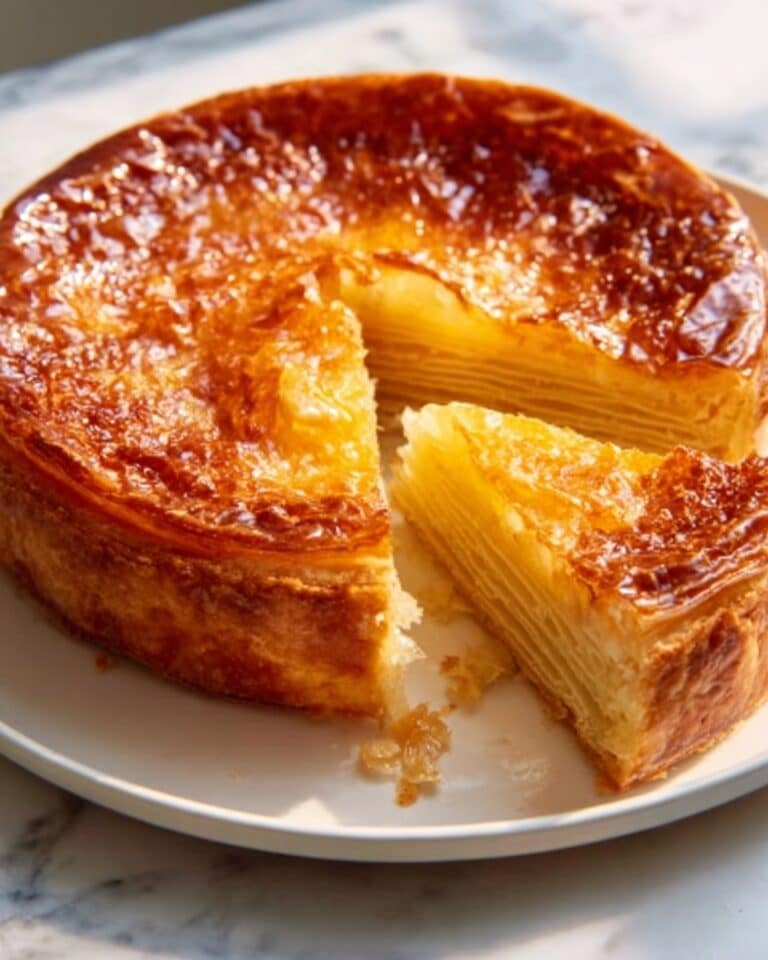
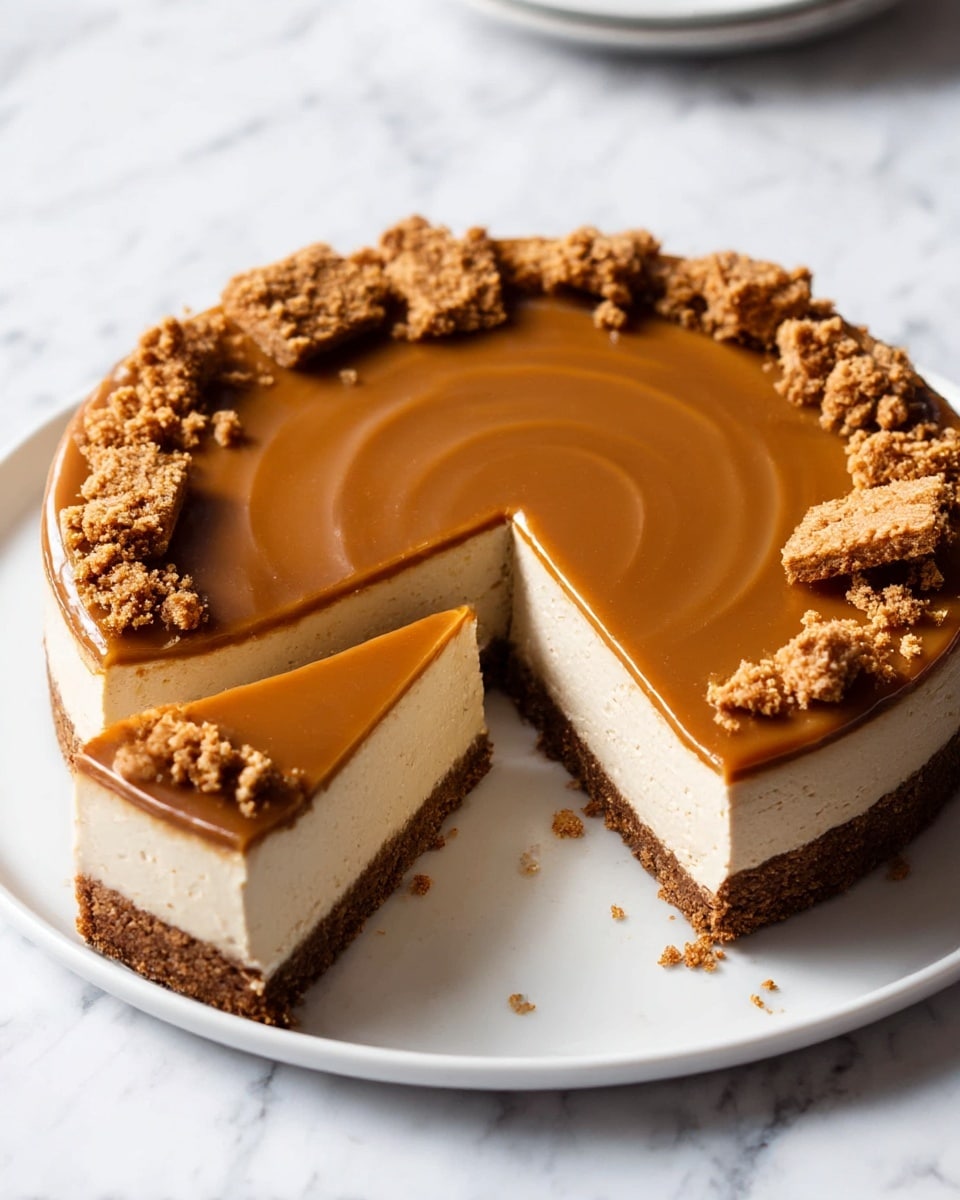
This Biscoff Cheesecake blends the rich, creamy texture of classic cheesecake with the irresistible caramelized flavor of Biscoff cookies and spread. It’s a delightful dessert that’s perfect for any occasion and sure to impress your guests.
Ingredients
- 32 pieces Biscoff cookies (252 g)
- 5 tablespoons unsalted butter (70 g), melted
- ¼ teaspoon kosher salt
- 24 oz brick-style cream cheese (3 x 8-oz packages), room temperature
- ¾ cup light brown sugar (150 g), packed
- ½ teaspoon kosher salt
- ¾ cup Biscoff spread (180 g)
- 2 large eggs, room temperature
- ½ tablespoon vanilla extract
- ½ cup sour cream (120 g), room temperature
- ¼ cup heavy cream (55 g), room temperature
- ½ cup Biscoff spread (120 g) for topping
- Roughly chopped Biscoff cookies, as needed for garnish
Instructions
- Step 1: Preheat the oven to 350℉. (Optional) Line the bottom of a 9-inch springform pan with a cake board or foil for easy removal.
- Step 2: In a food processor, pulse Biscoff cookies to your desired texture. Stir the ground cookies with salt and melted butter until combined.
- Step 3: Press the cookie mixture evenly into the bottom of the prepared pan using a tamper or flat-bottomed cup.
- Step 4: Bake the crust for 8–10 minutes until set. Remove from oven and let cool. Lower the oven temperature to 325℉.
- Step 5: In a stand mixer with a paddle attachment, beat the cream cheese on low until smooth, about 5 minutes. Scrape the bowl sides as needed.
- Step 6: Add brown sugar and salt, mixing on medium until incorporated. Mix in ¾ cup Biscoff spread until evenly distributed.
- Step 7: With the mixer on low, add eggs one at a time, fully blending each before adding the next. Then mix in sour cream, heavy cream, and vanilla until the batter is uniform.
- Step 8: Wrap the springform pan with heavy-duty foil to prevent water leakage during the water bath.
- Step 9: Bring 6–8 cups of water to a boil.
- Step 10: Pour the cheesecake filling into the prepared pan and smooth the top. Place the pan in a large roasting pan.
- Step 11: Place the roasting pan in the oven rack center. Pour boiling water into the roasting pan until it reaches about 1½ inches up the side of the cheesecake pan.
- Step 12: Bake the cheesecake for 60 minutes.
- Step 13: Turn off the oven and crack the door slightly open. Let the cheesecake cool slowly in the oven for 45–60 minutes. Use a wooden spoon to prop the door if needed.
- Step 14: Remove the cheesecake from the water bath and let it cool at room temperature for 30 minutes. Then chill in the refrigerator until ready to serve.
- Step 15: For the topping, microwave ½ cup of Biscoff spread in 10-second intervals until melted and smooth.
- Step 16: Pour the melted spread over the chilled cheesecake and spread evenly. Garnish the edges with roughly chopped Biscoff cookies.
- Step 17: Chill the cheesecake in the fridge for another 15 minutes to set the topping before serving.
Tips & Variations
- Use room temperature ingredients to ensure a smooth, creamy filling without lumps.
- If you don’t have a food processor, place the cookies in a sealed bag and crush them with a rolling pin.
- For extra flavor depth, fold in a teaspoon of espresso powder with the cream cheese.
- Swap the sour cream for Greek yogurt for a slightly tangier cheesecake.
- Try adding a pinch of cinnamon to the crust for a warm spice note.
Storage
Store the cheesecake covered in the refrigerator for up to 4 days. For longer storage, wrap tightly and freeze for up to 1 month. Thaw in the refrigerator overnight before serving. Reheat the topping slightly if needed to restore its spreadable consistency.
How to Serve
Serve this delicious recipe with your favorite sides.
FAQs
Can I use regular cream cheese instead of brick-style?
Brick-style cream cheese is preferred because it has less moisture and results in a firmer texture, but you can use regular cream cheese if needed. Just be sure to drain any excess liquid and use room temperature cheese for best results.
Do I need to use a water bath for this cheesecake?
Yes, the water bath helps prevent cracks by providing gentle, even heat and moisture during baking. Wrapping the pan in foil protects it from leaks. If you don’t have a springform pan suitable for water baths, consider adjusting the recipe.