Loaded Butterscotch Cheesecake Recipe
Introduction
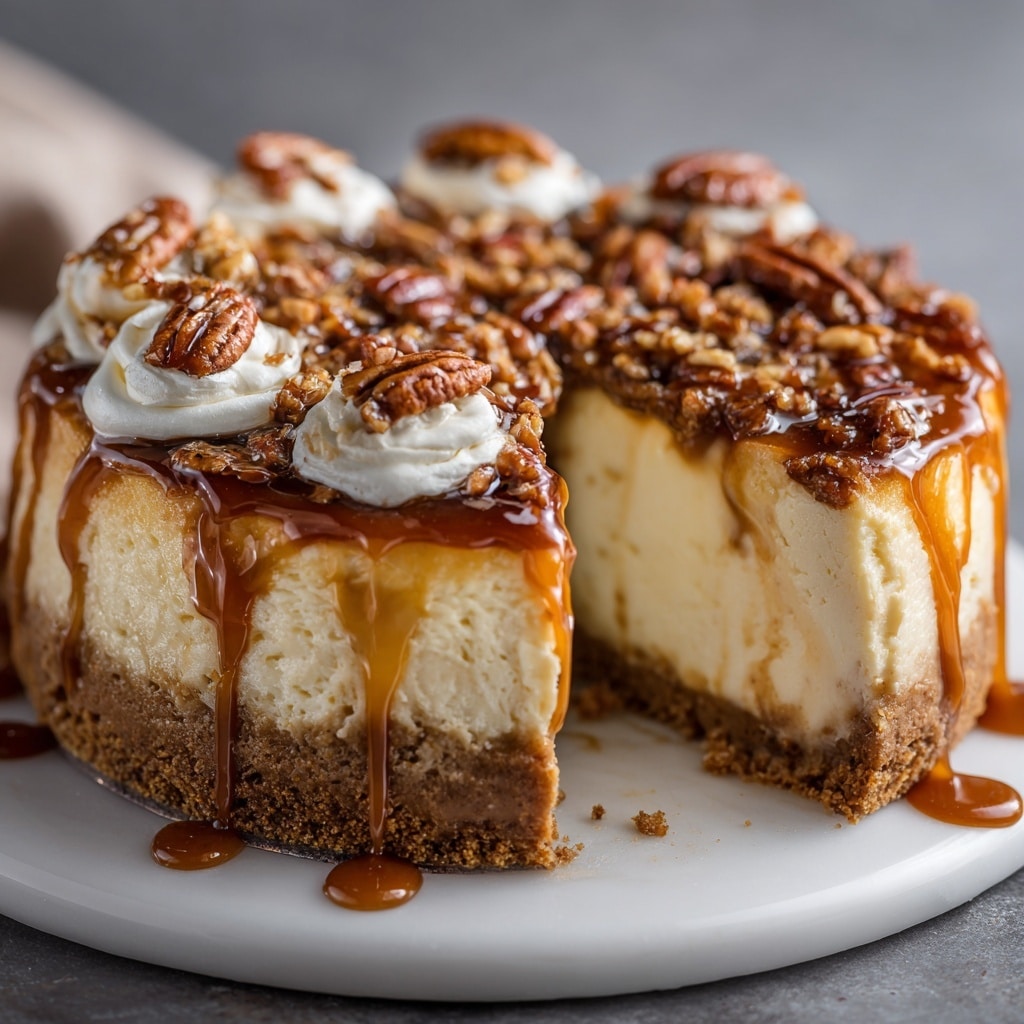
This Loaded Butterscotch Cheesecake is a decadent dessert that combines a creamy, rich filling with the warm sweetness of butterscotch. Perfect for special occasions or anytime you want to impress, it features a buttery graham cracker crust and a luscious butterscotch ganache topping.
Ingredients
- 1 3/4 cups (235g) graham cracker crumbs
- ¼ cup (56g) packed light brown sugar
- 7 tbsp (98g) unsalted butter, melted
- 24 oz (678g) cream cheese, room temperature
- 3/4 cup (168g) packed light brown sugar
- 3 tbsp (24g) all-purpose flour
- 1 tsp vanilla extract
- 1/2 cup (112g) sour cream
- 1/2 cup (120ml) heavy whipping cream
- 1 cup (169g) butterscotch chips
- 3.4 oz package dry butterscotch pudding mix
- 4 large eggs, room temperature
- 1 cup (169g) butterscotch chips (for ganache)
- 4 1/2 tbsp (68ml) heavy whipping cream (for ganache)
- Additional butterscotch chips, for decorating
Instructions
- Step 1: Preheat oven to 325°F (163°C). Line the bottom of a 9-inch (23cm) springform pan with parchment paper and lightly grease the sides.
- Step 2: In a medium bowl, combine graham cracker crumbs, brown sugar, and melted butter. Mix well until the mixture resembles wet sand.
- Step 3: Press the crust mixture firmly into the bottom and halfway up the sides of the springform pan.
- Step 4: Bake for 10 minutes, then remove and set aside to cool. Reduce oven temperature to 300°F (148°C).
- Step 5: In a large bowl, beat the cream cheese until smooth and creamy. Scrape down the sides of the bowl.
- Step 6: Add brown sugar and flour. Mix until well combined and smooth.
- Step 7: Add vanilla extract and mix.
- Step 8: Add sour cream and heavy whipping cream. Mix until fully incorporated.
- Step 9: Melt 1 cup (169g) of butterscotch chips in the microwave in 20-second intervals, stirring until smooth.
- Step 10: Add the melted butterscotch chips to the batter and mix until evenly combined.
- Step 11: Add the dry butterscotch pudding mix and mix until well combined.
- Step 12: Add eggs one at a time, mixing slowly after each addition. Scrape down the sides of the bowl as needed.
- Step 13: Wrap the outside of the springform pan with aluminum foil to prevent water from leaking into the pan. Place the pan inside a larger roasting pan.
- Step 14: Pour the cheesecake batter into the prepared crust. Smooth the top.
- Step 15: Pour warm water into the roasting pan to come about halfway up the side of the springform pan to create a water bath.
- Step 16: Bake for 1 hour and 35 minutes, or until the edges are set and the center is slightly jiggly.
- Step 17: Turn off the oven and leave the cheesecake inside with the door closed for 30 minutes.
- Step 18: Crack the oven door and leave the cheesecake inside for another 30 minutes.
- Step 19: Remove cheesecake from the oven and water bath, and let it cool at room temperature for 1 hour.
- Step 20: Refrigerate the cheesecake for at least 5-6 hours, or preferably overnight, until fully set.
- Step 21: Add remaining butterscotch chips and heavy whipping cream to a heat-proof bowl.
- Step 22: Microwave in 15-20 second intervals, stirring until smooth and glossy.
- Step 23: Pour the ganache over the top of the chilled cheesecake and spread evenly.
- Step 24: Sprinkle additional butterscotch chips over the ganache for decoration.
- Step 25: Refrigerate for at least 30 minutes before serving to set the topping.
Tips & Variations
- For extra flavor, toast the graham cracker crumbs lightly before mixing for the crust.
- Use a water bath to prevent cracks and ensure a creamy texture in your cheesecake.
- Substitute butterscotch chips with caramel or white chocolate chips for a different twist.
- Allow the cheesecake to come to room temperature for 10–15 minutes before slicing for cleaner cuts.
Storage
Store the cheesecake covered in the refrigerator for up to 5 days. Keep it tightly wrapped or in an airtight container to prevent it from absorbing other odors. Reheat slices gently at room temperature or enjoy chilled for the best texture and flavor.
How to Serve
Serve this delicious recipe with your favorite sides.
FAQs
Can I make this cheesecake ahead of time?
Yes, this cheesecake benefits from resting overnight in the refrigerator to fully set and develop its flavors, making it an excellent make-ahead dessert.
How do I prevent cracks in my cheesecake?
Using a water bath and baking at a lower temperature helps create a moist environment and gentle heat, reducing the chances of cracks. Also, avoid overmixing and don’t open the oven door during baking.